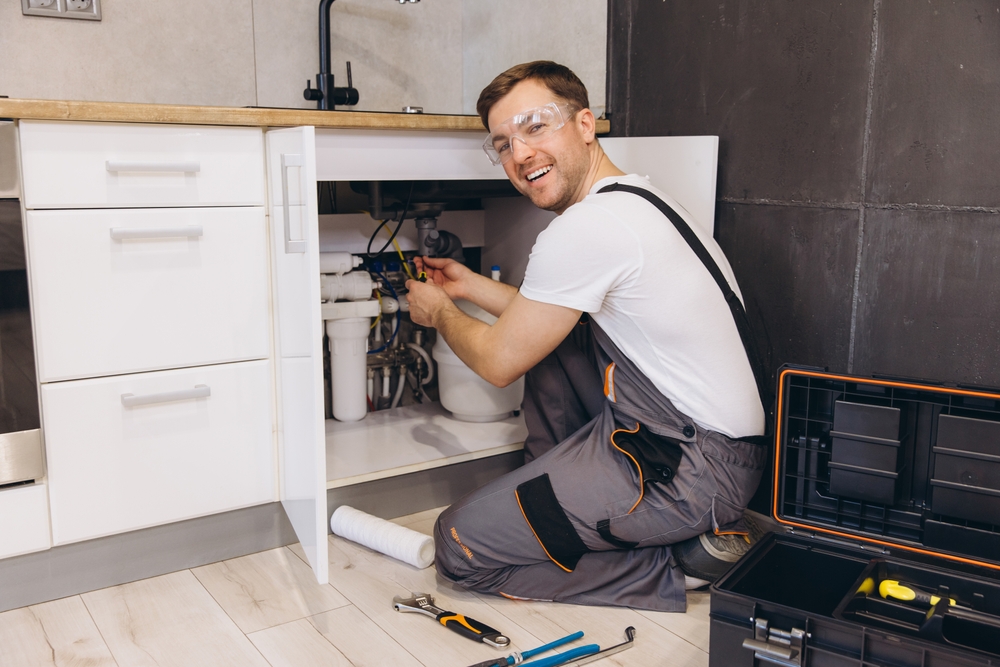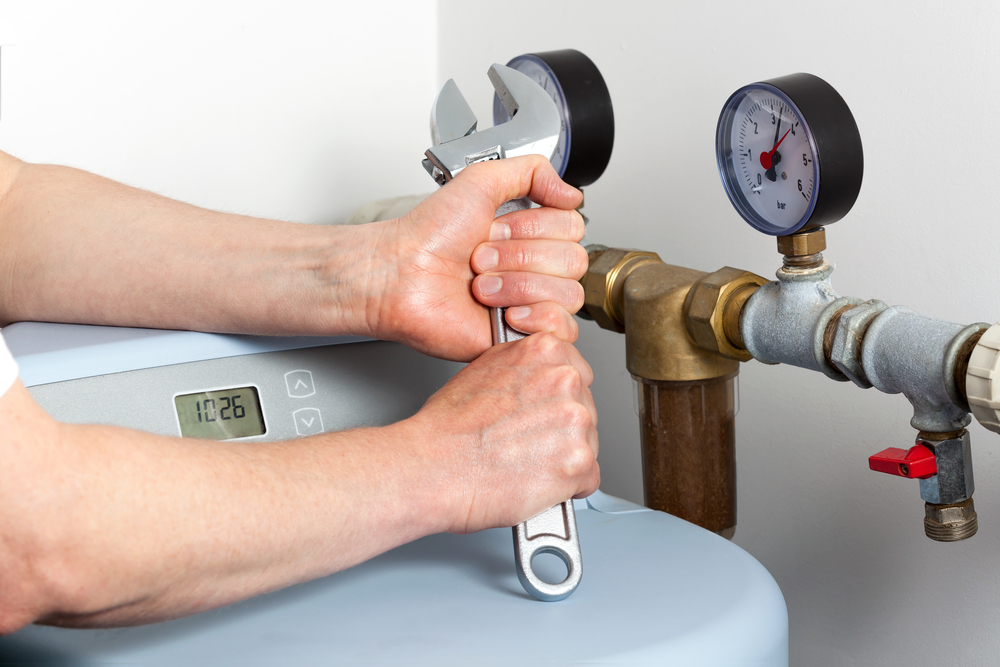
Installing a water softener improves water quality by removing minerals like calcium and magnesium that cause hardness. This helps protect pipes and appliances from scale buildup, extending their lifespan and maintaining efficiency.
Fitting a water softener involves connecting it to the main water supply, setting up drainage, and programming the control valve to match water usage and hardness levels. Understanding the basic operation of the system ensures it functions correctly and delivers consistent soft water throughout the home.
Preparing for Water Softener Installation
Proper preparation ensures the installation process is efficient and safe. This involves collecting the correct tools and materials and choosing an appropriate site that meets both practical and technical needs.
Gathering Tools and Materials
The installer needs basic plumbing tools such as pipe cutters, wrenches, a tubing cutter, and Teflon tape for sealing connections. A screwdriver and pliers are necessary for adjustments and securing fittings.
Materials include the water softener unit, flexible hoses, bypass valve, drain line tubing, and pipe fittings compatible with the home’s plumbing system. It is also important to have a bucket or towels for water spills.
A pressure gauge and pipe thread sealant can help ensure leak-free connections. Checking the softener manual for any specific tools required for that model helps avoid interruptions during installation.
Selecting the Installation Location
The chosen site should be close to the main water supply line and easily accessible for maintenance and salt refills. A dry, level surface inside a utility room, basement, or garage is ideal. It must be near a drain to dispose of the brine discharge safely. The area should have an electrical outlet within reach for the softener’s power supply.
Temperature control is important; the location should stay above freezing to prevent pipe damage and softener malfunction. Lastly, ensure local plumbing codes and manufacturer guidelines on placement are followed strictly.
Step-by-Step: How to Fit a Water Softener
Installing a water softener requires careful handling of plumbing connections and a precise setup to ensure proper function. The process involves attaching the unit to the main water line and performing initial tests to verify operation.
Connecting the Softener to Plumbing
- First, shut off the main water supply and drain the pipes by opening the taps. Locate the cold-water supply line near the incoming water pipe where the softener will be installed.
- Cut the pipe using a pipe cutter and prepare the ends for fitting. Attach bypass valves to control water flow and provide an option to divert water around the softener if needed.
- Use compression fittings or push-fit connectors to join the softener’s inlet and outlet ports to the water line. Ensure all connections are tight and secure to prevent leaks.
- Install a drain line from the softener to a suitable drain point, following local plumbing codes. Finally, connect the overflow tube if the unit has one, keeping it clear and unobstructed.
Setting Up the Unit and Initial Testing
- After plumbing, set the softener’s control valve according to the manufacturer’s instructions. Input the water hardness level and current day to program the regeneration cycle.
- Add the correct type and amount of salt to the brine tank. Check that the tank is properly sealed to avoid contamination.
- Turn the water supply back on slowly and inspect all joints for leaks. Initiate a manual regeneration cycle to check the softener’s function and clear any air from the system.
- Finally, test the water hardness at a tap downstream of the unit to confirm the softener is removing hardness effectively. Adjust settings if necessary.
Troubleshooting and Maintenance
Proper setup of a water softener requires attention to potential installation issues and routine upkeep to maintain performance.
Solving Common Installation Challenges
Leaks around connections often result from loose fittings or damaged seals. Tightening fittings or replacing worn parts typically resolves this. If the system doesn’t regenerate, it may be due to incorrect timer settings or a clogged brine line. Checking the control panel and clearing blockages restores function.
Hard water after installation usually indicates a bypass valve left open or salt bridge formation in the brine tank. Closing the valve or breaking up the salt crust with a broom handle fixes the issue. Electrical issues can arise from faulty wiring or power supply problems. Inspect all connections and verify power to the unit before seeking professional help.
Tips for Long-Term Care and Performance
Regularly check salt levels and refill with appropriate softener salt to prevent disruptions. Avoid using rock salt, which can contain impurities that clog the system. Clean the brine tank annually to remove sludge. This maintains effective salt dissolution and prevents malfunction.
Inspect resin beads every few years. Resin replacement may be necessary if water hardness returns despite correct system operation. Program the control valve based on water usage and hardness testing. Accurate settings decrease salt use and improve efficiency. Periodic water testing confirms the system’s effectiveness.

Professional Installation and Services
Installing a water softener requires precision and technical knowledge to ensure it functions efficiently. Proper setup and ongoing maintenance prevent issues like scaling, leaks, or improper regeneration cycles.
Benefits of Professional Plumbing Assistance
Professional plumbers ensure the correct placement and connection of the water softener to the main water line. They will verify water pressure and flow rates, adjust settings for optimal performance, and perform necessary tests to confirm system efficiency.
Additionally, licensed plumbers have the tools and expertise to avoid common mistakes, such as cross-connection or improper drain setups. This reduces the risk of damage to plumbing systems and guarantees the softener delivers softened water consistently.
About Right Solution Plumbing
Right Solution Plumbing is a trusted provider specializing in plumbing and water treatment systems. They offer professional installation and maintenance of water softeners tailored to specific household needs.
Their services include system sizing, setup, routine inspections, and timely repairs. Right Solution Plumbing’s technicians are trained to handle various makes and models, ensuring compatibility and long-term reliability.
With a focus on clear communication, they guide customers through the installation process and provide maintenance advice. This ensures the water softener performs as expected from the first use.
Back to Blog