When moving into a new house, deciding where to install a water softener is essential for maximizing its effectiveness. Water softeners reduce hard minerals like calcium and magnesium, which can damage pipes and appliances over time. The water softener should be installed close to where the main water line enters the home, but after the pressure tank if one is present.
Placing the unit near the main water inlet ensures all incoming water is treated before reaching faucets or appliances. It also allows the softener to work efficiently without interrupting water flow. Locating it in a basement, utility room, or garage is common, provided there is access to a drain and electrical outlet. Avoid locations that require long pipe runs, as they increase the risk of leaks and pressure loss.
Best Locations to Install a Water Softener
Choosing the right spot for a water softener depends on access to water lines, drainage, and power. The location should protect the system from extreme temperatures and allow for easy maintenance. Space constraints and proximity to the main water supply also influence the decision.
Basements and Utility Rooms
Basements and utility rooms are common choices. They usually have direct access to the main water line and a floor drain for backwash water. These areas maintain stable temperatures, which protect the water softener from freezing or overheating.
Utility rooms often provide nearby electrical outlets needed for the softener’s controls. The area should be well-ventilated and spacious enough for installation and routine maintenance. Plumbing should allow for easy connection to both the water supply and wastewater lines.
Garages and Storage Areas
Garages and storage areas can work if climate conditions are controlled. These spaces offer convenient access to the main water pipe, especially if the home’s incoming water enters through the garage wall.
Installers should ensure the garage won’t get too hot or cold, as freezing temperatures can damage the softener. Proper drainage is necessary to handle the discharge without flooding. Electrical access for the system’s control unit is also required in garages.
Outdoor Installation Options
Outdoor installation is feasible in some climates with protective enclosures or basins. The softener must be shielded from weather extremes such as freezing, rain, and direct sunlight.
Outdoor setups need insulated housings and secure coverage to keep the system functional year-round. Access to water lines and drainage must be precise, and power lines must be weatherproofed for safety. This option may require more upfront planning than indoor installations.
Customized Placement and Installation Solutions
Proper placement of a water softener depends on the available room and the specific house layout. It requires careful measurement, thoughtful adjustments, and sometimes creative configurations to fit effectively without disrupting existing plumbing or living space.
Adapting to Small Spaces
In homes with limited space, compact water softeners or combination units that include filtration can be used to save room. Installing the unit in utility closets, under stairwells, or even in modified cabinetry helps keep it out of sight while maintaining easy access for maintenance.
Because these areas often have tight clearances, plumbing lines might need rerouting or flexible connectors. Installing a softener near, but not directly on, the main water line can also preserve space. Precise measurements and planning prevent future issues like leaks or cramped maintenance access.
Tailoring Solutions for Unique House Layouts
Unique layouts demand customized installation strategies. For instance, multi-story homes may benefit from installing multiple softening units near water usage points to ensure balanced water quality.
Basements with uneven walls or low ceilings require adaptable mounting or floor placement solutions. In cases where outdoor installation is necessary, weatherproof enclosures protect the system from elements. Consulting house blueprints and coordinating with plumbers ensures a tailored setup that integrates smoothly with the home’s plumbing infrastructure.

Installation Process and Professional Support
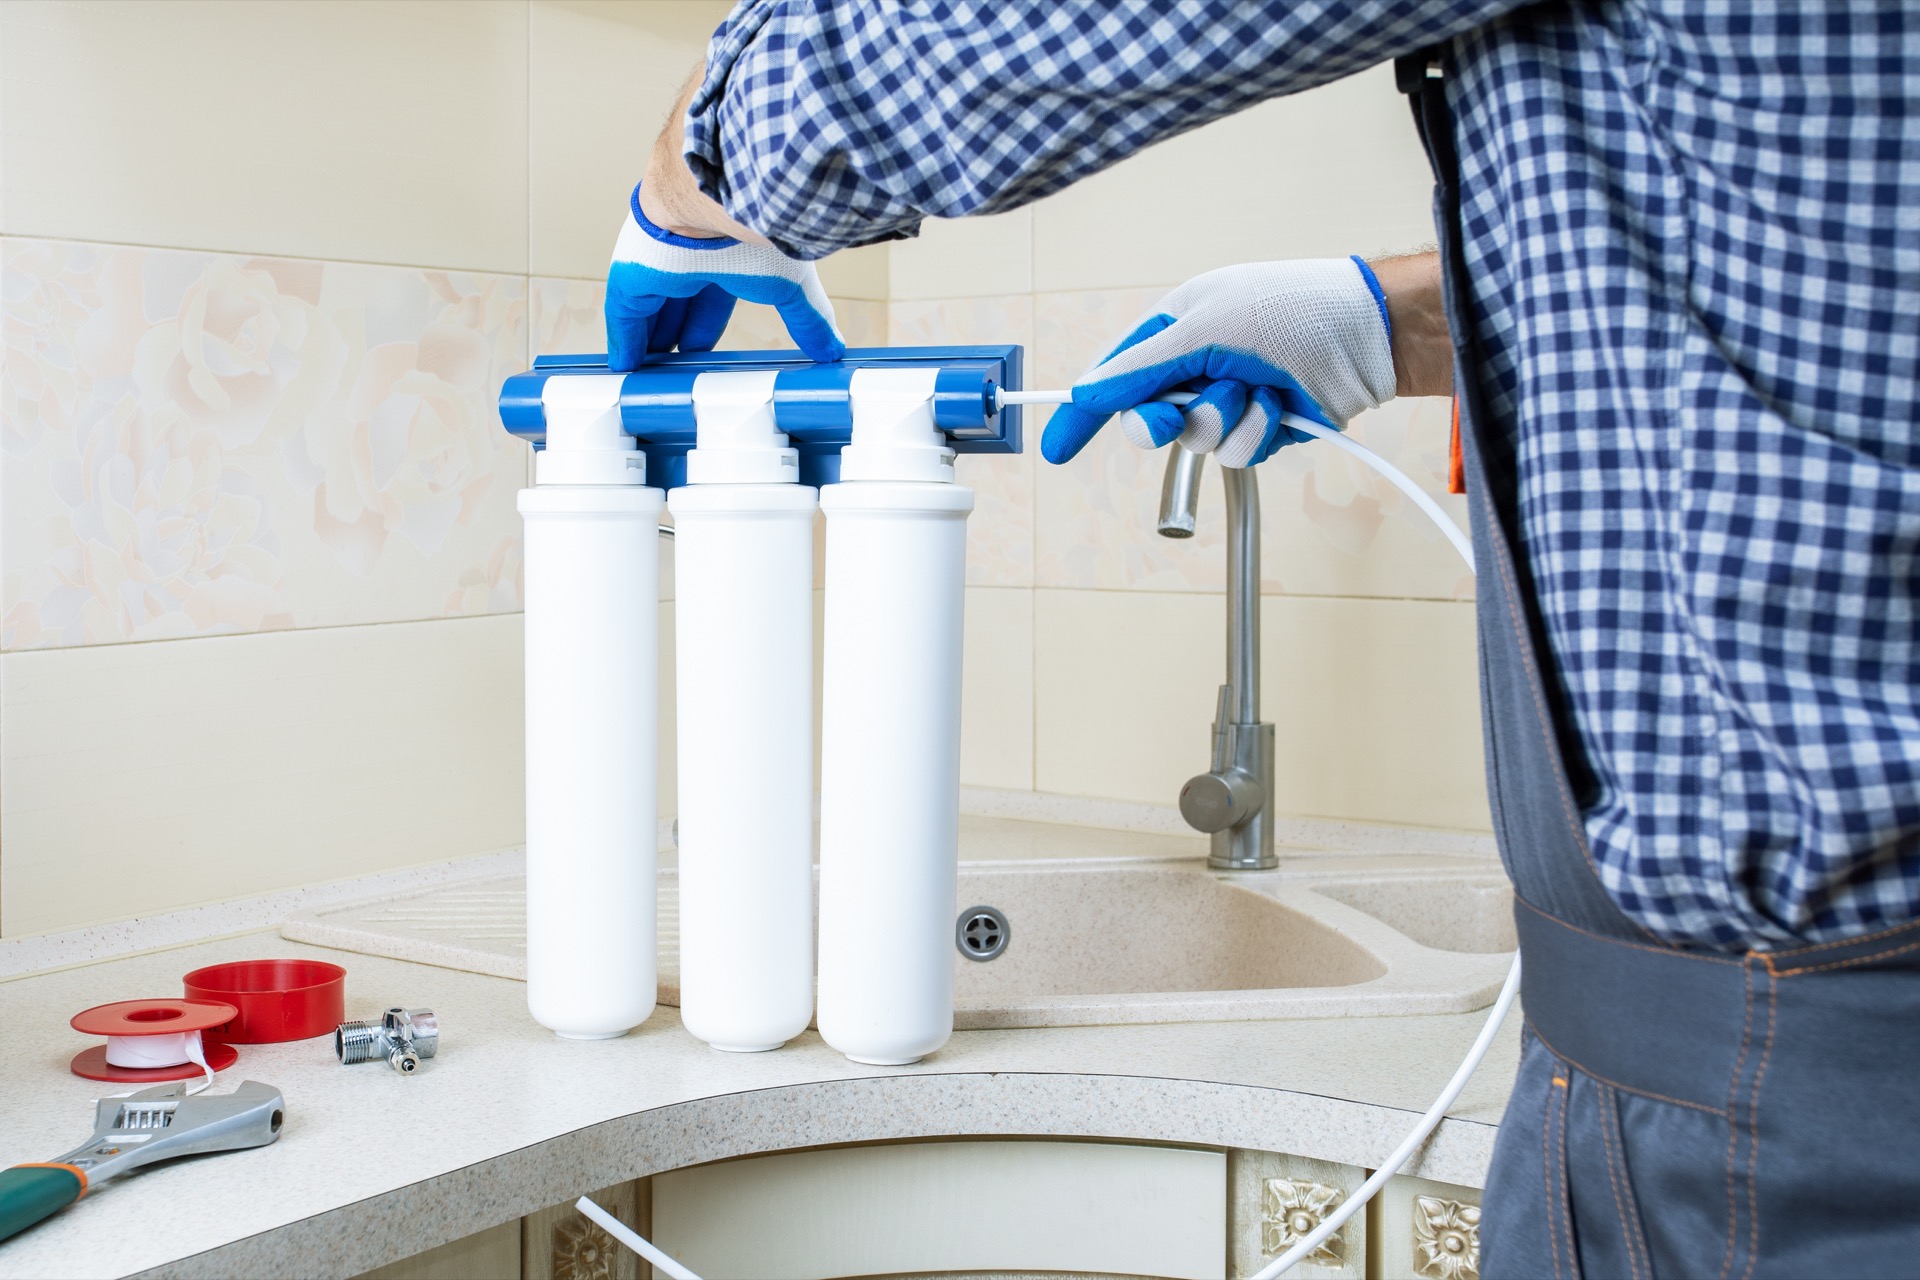
Installing a water softener requires precise steps and attention to plumbing details. Proper placement and connection ensure efficient operation and consistent water quality. Professional support can simplify the process and prevent common issues.
Step-by-Step Installation Overview
The installation typically begins with selecting a location near the main water supply line, ideally before the water heater. This position helps protect pipes and appliances from hardness damage.
Next, the installer shuts off the main water supply and drains existing water from the pipes. They cut into the main cold water line and insert the bypass valve for easy maintenance.
The water softener unit is then connected using flexible hoses or copper piping. A drain line is installed to remove the brine solution during regeneration. Finally, the installer programs the system based on water hardness level and household water usage.
Comprehensive Plumbing Considerations
For new homes, integrating the water softener into plumbing requires assessing pipe material compatibility and flow rate. Copper or PEX piping is preferred for durability and ease of installation.
Proper placement must allow access to a nearby electrical outlet and a drain. Some codes require a backflow preventer to protect the water supply from contamination during regeneration.
Pressure levels should be checked to ensure the softener operates within optimal parameters. Incorrect pressure can reduce efficiency or damage components over time.
Ensuring Reliable Water Quality
After installation, the system’s settings must be calibrated precisely to match the household’s hardness level. This involves testing water before and after softening to confirm efficacy.
Regular maintenance, such as refilling salt and checking for leaks, is crucial for consistent performance. Monitoring the regeneration cycle and water hardness keeps the system reliable.
Proper installation also prevents issues like cross-contamination with untreated water or improper drainage, which can affect overall water quality.
How Right Solution Plumbing Supports Homeowners
Right Solution Plumbing provides expert installation, aligning with local codes and standards. Their technicians evaluate the home’s plumbing layout to recommend the best placement and system size. They handle all installation steps efficiently and ensure necessary permits are secured. Post-installation, they offer guidance on maintenance routines and system troubleshooting.
Their service focuses on reliability and long-term satisfaction, minimizing deployment errors and maximizing water softener lifespan. Homeowners receive professional support tailored to their water quality needs.
Back to Blog